

Super Acoustic Discs
Technical Details
Choose options
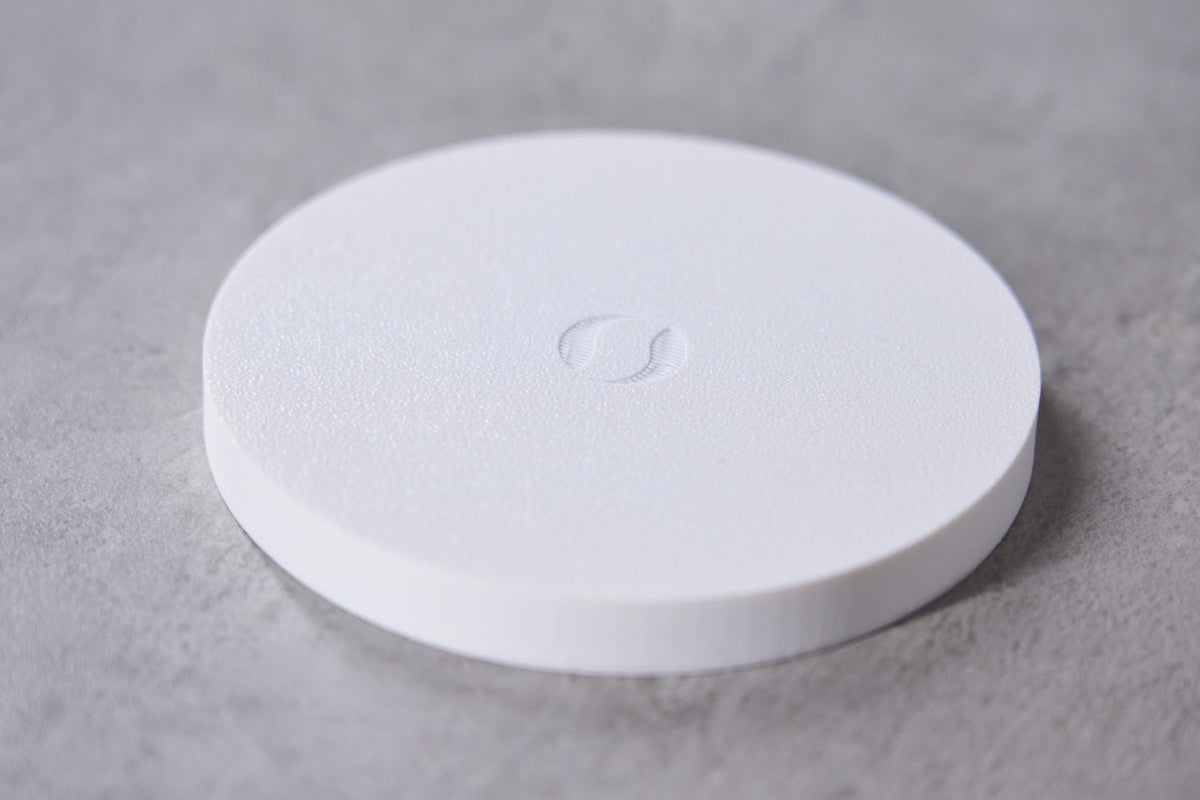
What You Hear
The music detaches from the loudspeakers
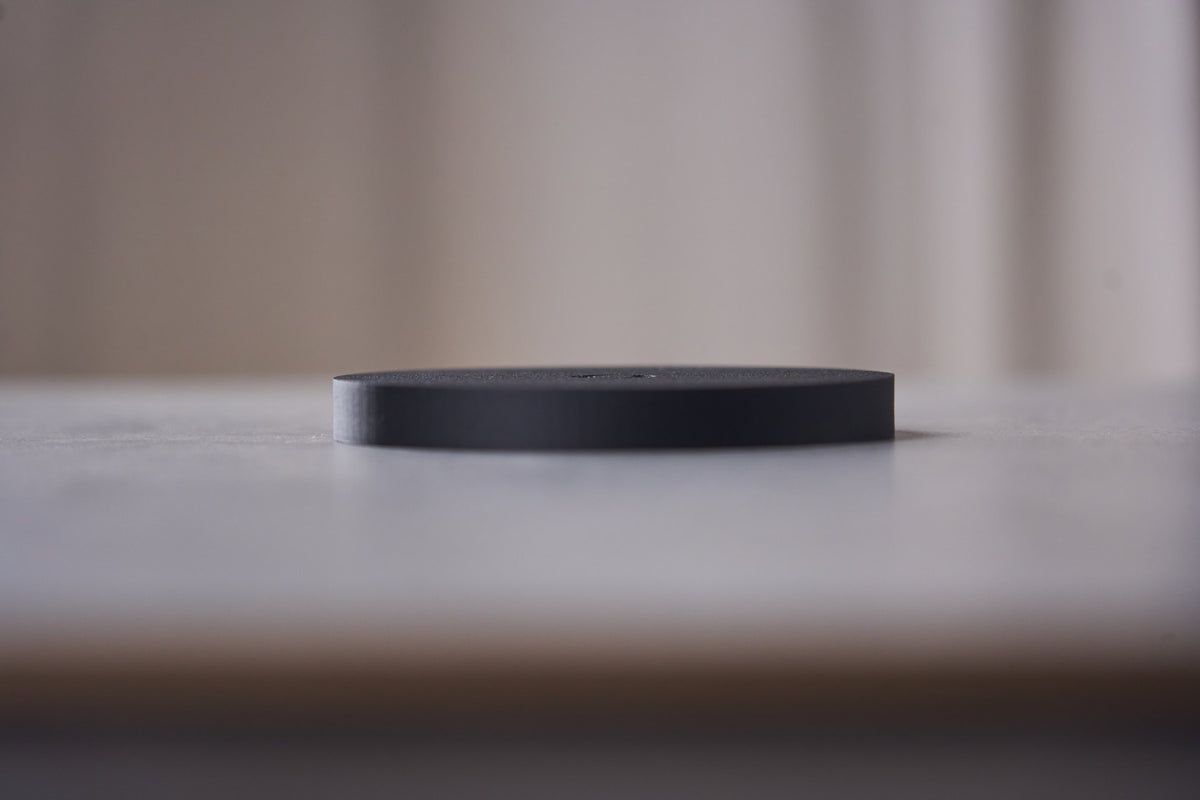
Height Shapes the Sound
Change the sound. Not the space.
More Room for the Music
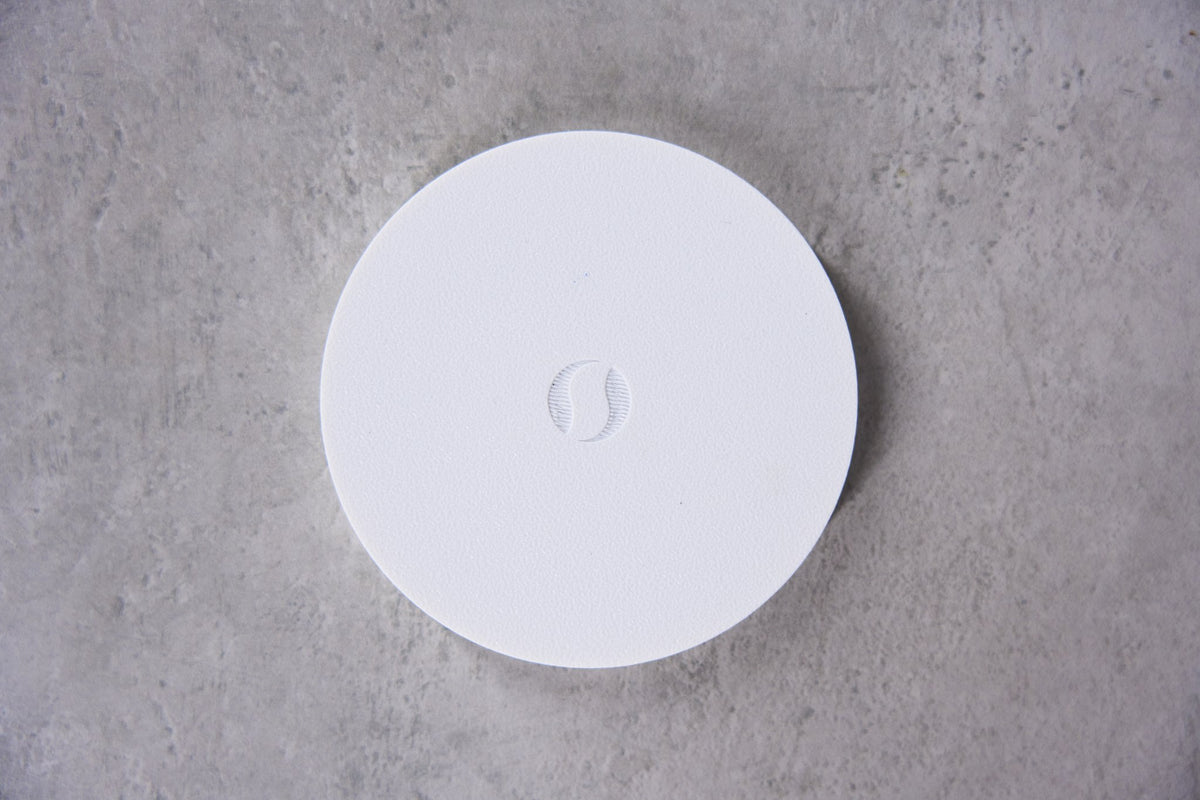
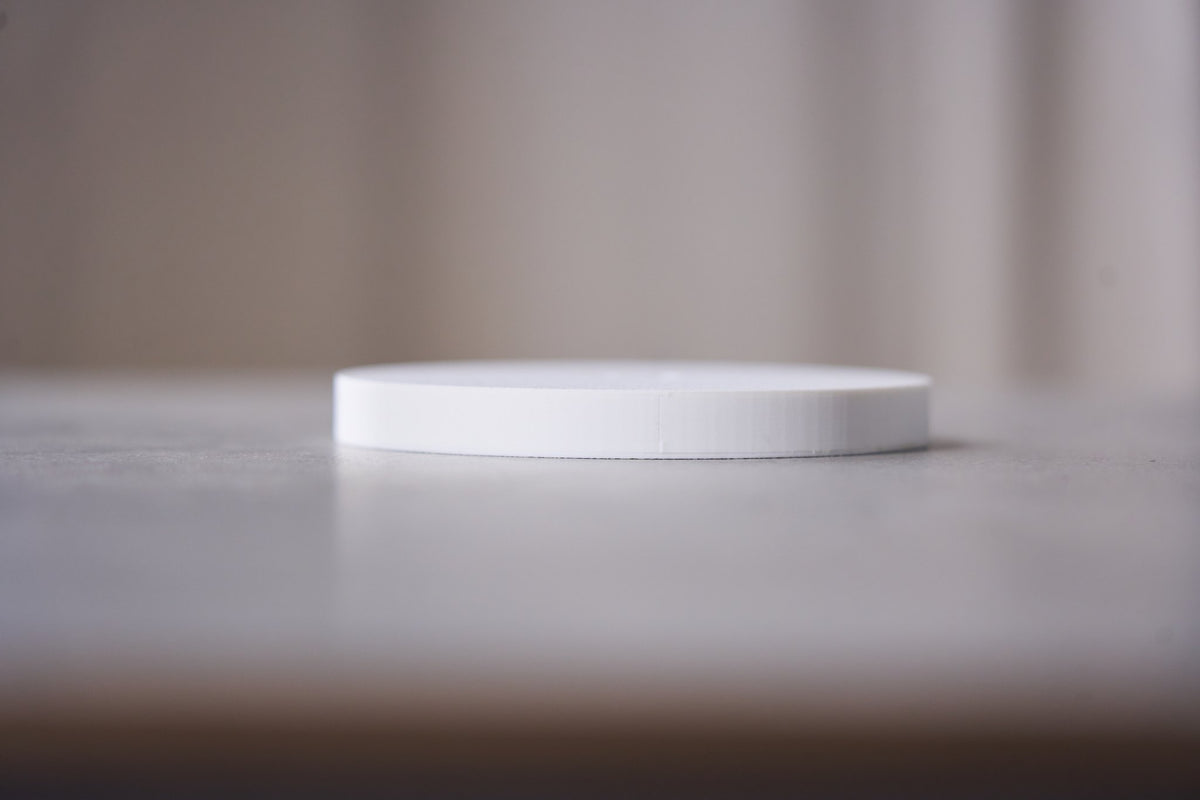
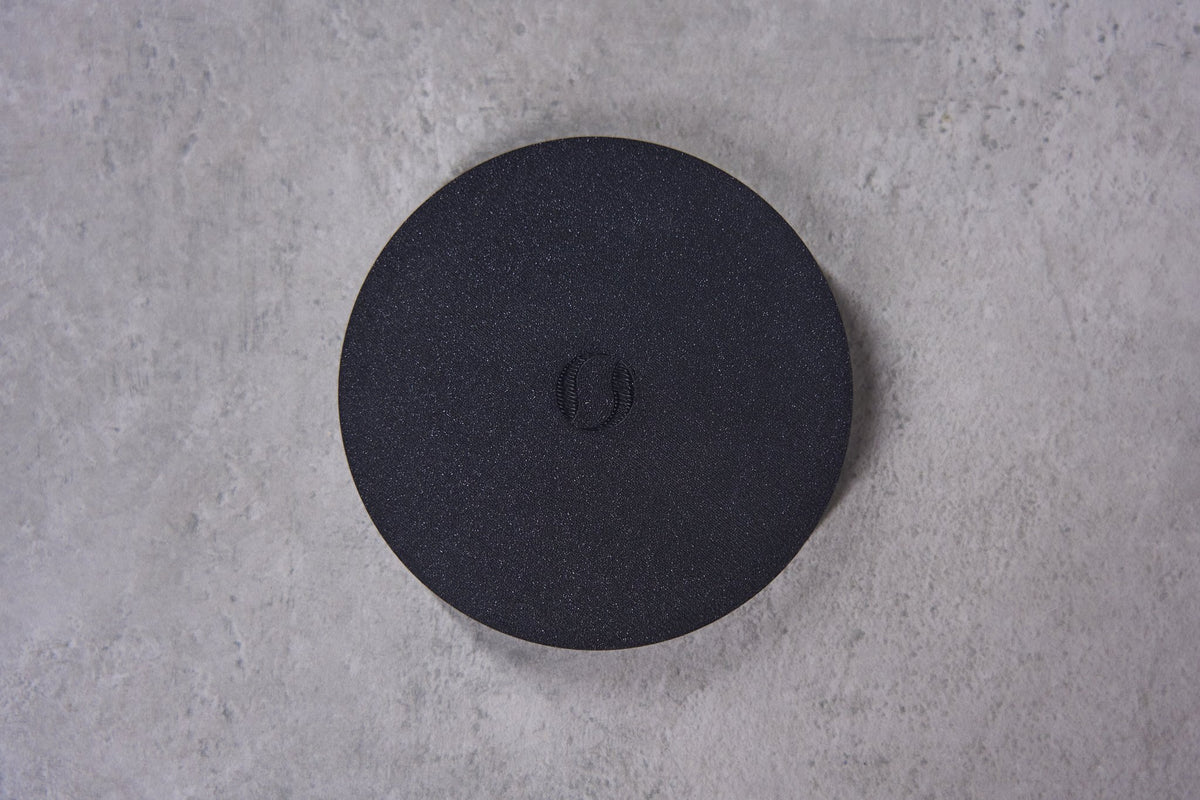
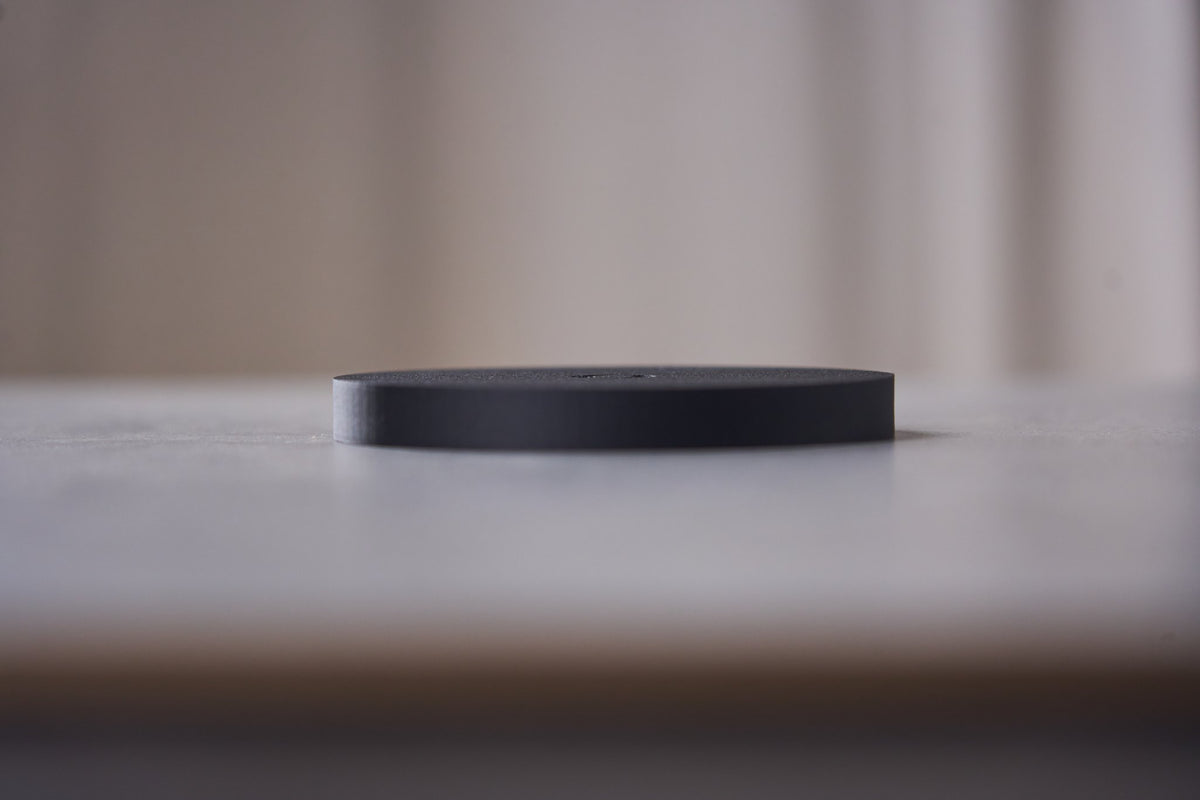
The Super Acoustic Discs improve the acoustics of your listening room with very little effort. They are compact, discreet and blend into any living space. They are mounted on the wall behind and opposite the loudspeakers, with no building work and no drilling.
Mounting
The discs are mounted flat against the wall using Nano Tape. Three strips are included, each 10 cm long and 3 cm wide.
While experimenting, a piece of 2 × 3 cm is enough. The disc holds securely and can be removed again by turning it slowly. For the final position, we recommend two to three pieces of 5 × 3 cm each.
If there is a piece of furniture at the desired position, the disc can also rest there. It works well lying flat, although mounted upright on the wall it usually sounds slightly more open.
Placement, Step by Step
The following positions have proven themselves in practice. They build on one another, so you can start with a single disc and expand your setup step by step.
One disc. Mount it centrally on the wall behind the loudspeakers, at a height between 120 and 180 cm. A good starting point is 160 to 170 cm. Higher sounds more open, lower more substantial.
Two discs. A pair noticeably opens up the room. Both sit on the wall behind the loudspeakers, each about 30 cm from the side walls, usually between 120 and 160 cm high. Start at 130 to 140 cm.
Three discs. Combine both positions. The openness of the outer discs joins the focus and presence of the centre disc. The outer discs always sit symmetrically, at the same height and the same distance from the side walls. Set their height first, then use the centre disc to fine-tune the overall picture.
Rear wall, centre. Place another disc centrally on the rear wall, mirroring the front centre but higher: about 30 to 40 cm below the ceiling. The exact height is less critical here, so furniture and room layout may guide the position.
Rear wall, sides. Two more discs on the rear wall mirror the two outer discs on the front wall exactly. With six discs, the listening room moves a good step closer to the concert hall.
If It Doesn't Sound Right Yet
First check that the outer discs hang exactly symmetrically: same height, same distance from the side walls.
If it sounds too bright or narrow, move the disc slightly lower. If it feels dense or too controlled, move it higher or remove a disc. More discs are not automatically better, what matters is the balance in the room.
Hearing the Difference
Choose three recordings you know well: a voice, an acoustic instrument and a larger ensemble. Listen to them before mounting, at the same volume.
Mount the discs and listen to the same recordings over a few days. Then take the discs down again for one evening. The difference often shows more clearly when you remove them than when you add them.
You have 14 days to test the discs at your leisure in your own room.